When it comes to warming water at home, coil hot water heaters offer a cost-effective and energy-efficient option. These small and adaptable water heaters are built to heat water as it passes through a coil, ensuring a steady stream of hot water. If you're thinking about setting up a coil hot water heater in your home, this detailed guide will assist you with the installation process. We'll address everything from selecting the ideal placement to linking the required plumbing and electrical elements.
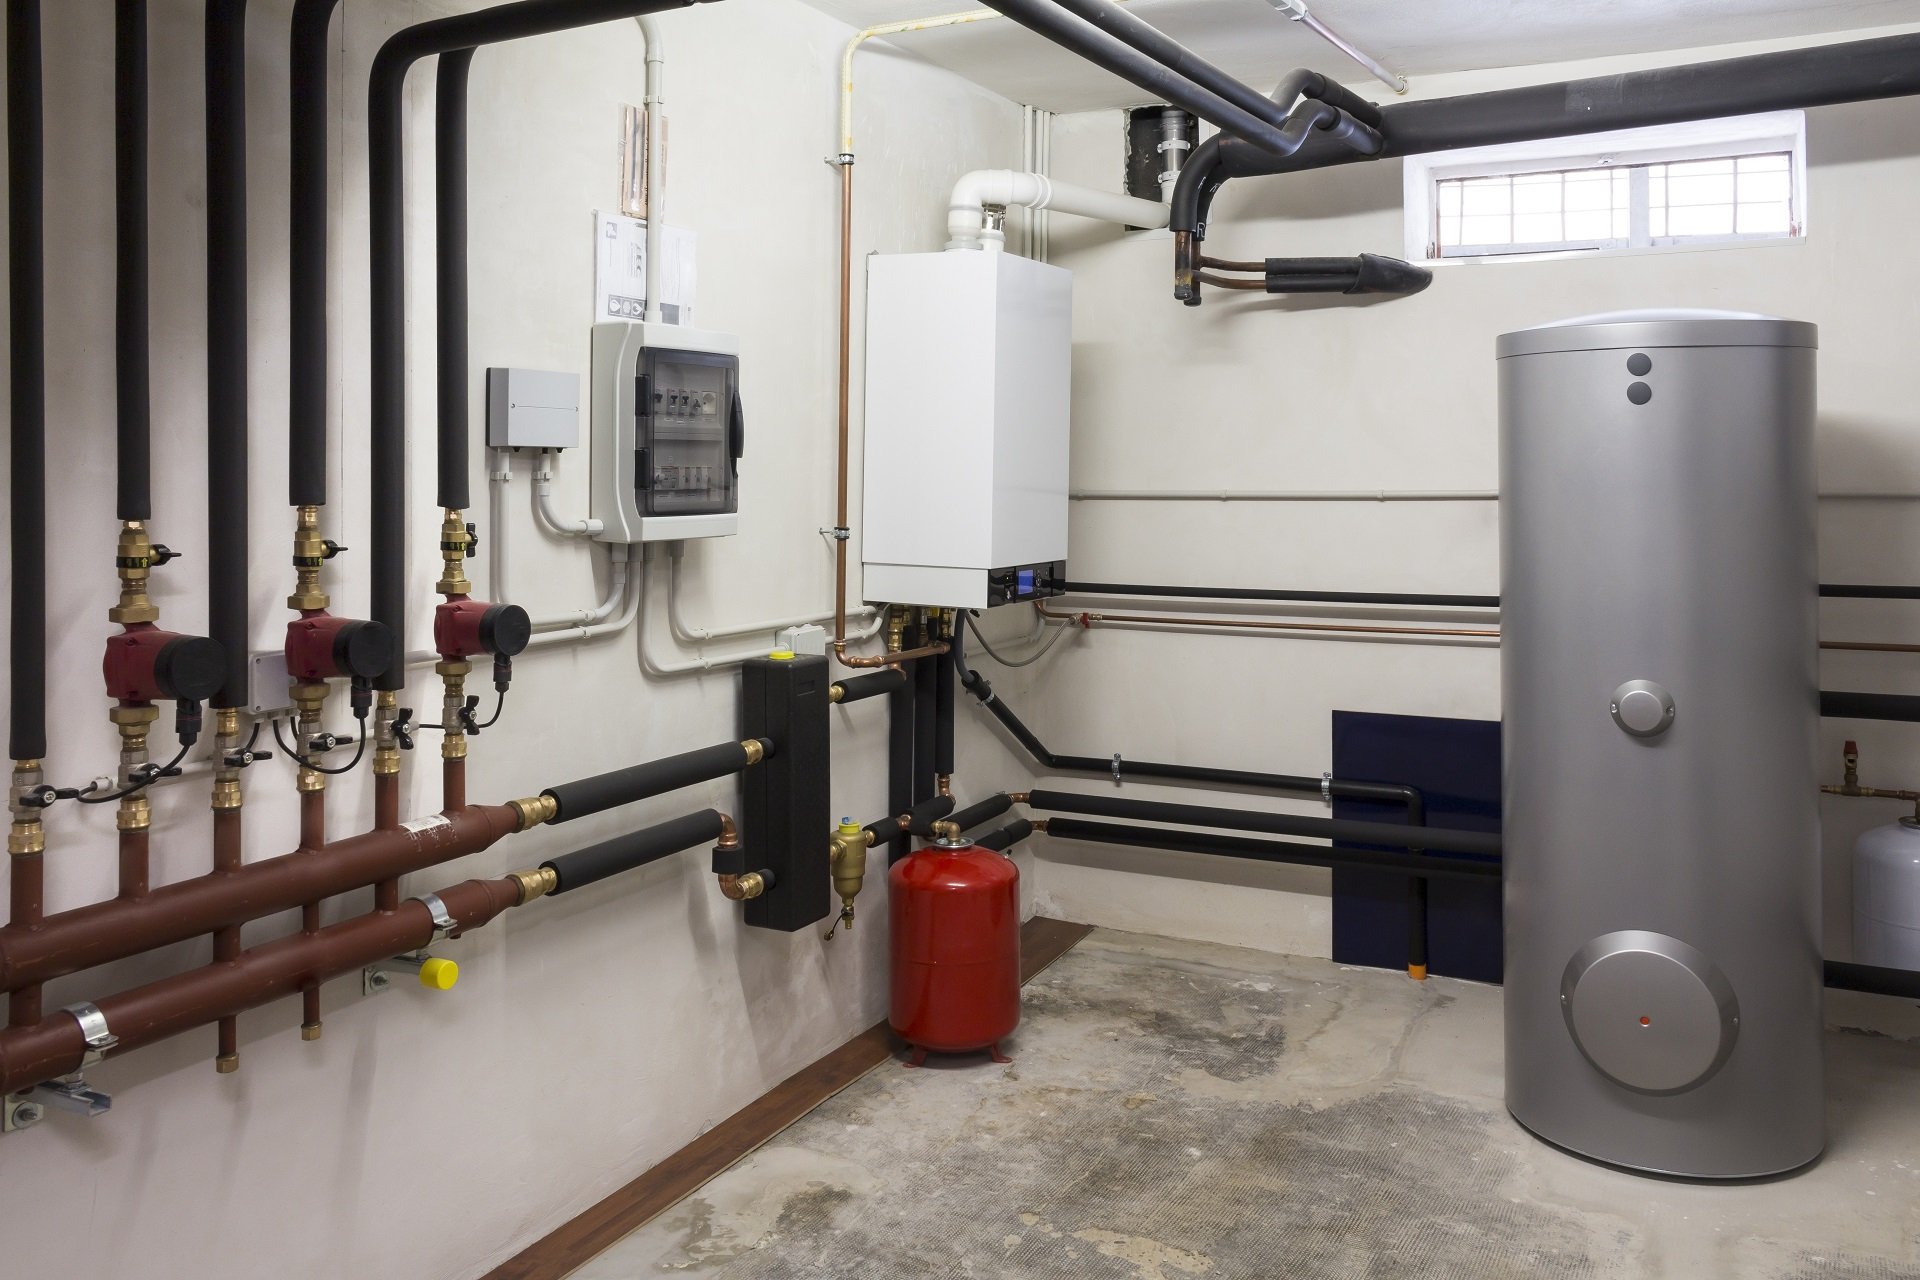
To begin the installation of a coil hot water heater, the first task is to carefully choose the best possible location. Take into account the following factors:
1. Accessibility: Make sure that the heater can be easily reached for maintenance and repairs. It should be readily accessible for regular inspections and any required modifications.
2. Ventilation: Adequate ventilation is essential for safety. Place the heater in a location with good air circulation to avoid the accumulation of dangerous gases.
3. Proximity to Water Source: Place the heater in close proximity to the water source to reduce heat loss during distribution.
4. Load Distribution: Ensure that the weight is evenly spread across the wall or support structure when installing the heater.
Once you've chosen the right location, it's time to mount the coil hot water heater. Follow these steps:
1. Prepare the Mounting Surface: Make sure the area where you plan to install the heater is both clean and flat. Use a level and measuring tape to precisely mark the spots for the mounting holes.
2. Secure the Heater: Ensure the heater is firmly and evenly secured using appropriate anchors and screws to maintain stability.
3. Maintain Proper Clearances: Adhere to the instructions provided by the manufacturer to maintain sufficient space around the heater, which will help prevent overheating and ensure safety.
Now that your coil hot water heater is securely mounted, you can move on to connecting the water supply. Here's how to do it:
1. Shut Off the Main Water Supply: Prior to establishing any connections, it is crucial to shut off the primary water supply in order to prevent accidents.
2. Install Shut-Off Valves: Place shut-off valves on the hot and cold water supply lines to enable the isolation of the heater for maintenance or repairs, without the need to turn off the entire water supply.
3. Connect the Plumbing: Make sure to use the right fittings and connectors to connect the hot and cold water supply lines to the inlet and outlet of the heater. Check for leaks and ensure a secure seal before moving forward.
4. Pressure Relief Valve: Install a pressure relief valve to prevent excess pressure from building up in the coil, which can be a safety hazard. This valve should discharge safely to the outside.
To ensure your coil hot water heater functions properly, you'll need to make the electrical connections. Follow these steps carefully:
1. Power Source: Ensure that the heater is connected to a separate electrical circuit and seek assistance from an electrician if necessary to verify proper wiring.
2. Wiring: Follow the manufacturer's guidelines to properly connect the wiring, making sure all connections are secure and well-insulated.
3. Grounding: Ensure the heater is adequately grounded to avoid electrical dangers, and employ a grounding rod if needed.
4. Thermostat Setting: Please set the thermostat to the temperature you prefer, but be careful not to turn it up too high, as it may cause scalding.
Before relying on your new coil hot water heater, it's essential to conduct thorough testing and a safe initial startup:
1. Open the Water Supply: Slowly turn the shut-off valves to start the flow of water into the heater. Inspect for any leaks and attend to them right away.
2. Bleed Air from the System: Turn on the hot water tap to release any trapped air from the system, ensuring that hot water flows smoothly.
3. Turn On the Power: Activate the electrical system linked to the heater and keep an eye out for any electrical malfunctions or abnormal sounds.
4. Wait for Hot Water: The heater may require some time to reach the desired temperature, so it's best to be patient and refrain from frequently adjusting the thermostat.